This is one of the hardest things in a gluten free diet to replace. Especially in a country like where I live. Bread is everywhere, and when I say everywhere you can take that literally. There are as much vending machines for bread as there are for sodas or candy. It's a comfort food, it's easy and filling. If you follow my simple steps, where years of trial and error have made me both miserable and happy, you'll be eating 'the real thing' soon as well.
Have you also bought shares of GF bread, pre packaged or pre baked that tasted like feet, was hard like a rock or maybe crumbled like a cake just by looking at it? I have for sure, and this has become my daily routine that fills the house with a wonderful smell and leaves us the day after with an easy-to-digest bread that won't bloat your tummy. Oh and it's super delicious ofcourse! You can try varieties of this recipe as well, most important thing is to keep the same ratio of starch and flours & the consistency of the dough.
Let's get started!
Ingredients
- 100 gram Teff flour
- 100 gram Millet flour
- 100 gram Corn or Rice flour
- 100 gram Buckwheat flour
- 100 gram Arrow Root
- 1 packet of Dried Yeast
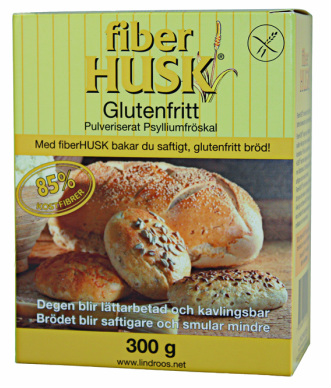
- 1 teaspoon Fiber Husk (grounded Psyllium seeds)
- 1 teaspoon coconutblossom nectar or raw sugar
- 1 tablespoon unrefined sea salt
- 1 tablespoon of olive oil or coconut oil
- 500 ml of fresh water
All the ingredients I've used are organic, of course.
Let's roll!
First thing you need to do is soak the Fiber Husk or grounded Psyllium seeds. They form the consistency of the bread, thicken it and allow for a smooth transit through your body ;) Put the tablespoon of fiber husk in a glass of water (about 200 ml) and stir. Let it soak for 10 minutes while you make the rest of the dough.
Grab a slice of baking paper or your favorite baking can and grease it up with some coconut oil. (I prefer baking paper, it sticks less!)
In a large bowl, mix all the dry ingredients together. Yes, it's kinda grey.
Make a hole and put in the olive oil and soaked psyllium. That should look like a very goo-like substance,
almost gelatinous like.
Finally mix the rest of the water with the dough - and here's the fun part -
just stir it very good with a spoon. Yay!
No mixers involved, or heavy dough knitting ... It's the gluten in bread that needs to be knitted and since we don't have any, just a proper mix of the ingredients is enough!
The dough should be a little more wet than regular bread dough, somewhere between pizza dough and pancake mix. This is an exercise in experience. I have perfected this and to be honest, don't need scales anymore. Every dish I ever make is 'by guess', or in other words looking at the consistency of the dough/recipe which is for me, a much more efficient way of baking!
Now an important step : let it rise! Cover your tin with a wet towel and let it rest at a warm place (+20° Celcius) for at least 2 hours or more!
When it's risen put it in your preheated oven (hot air : 225° C) for 1 hour exactly.
This is a good time to watch a documentary, or write a song, work in the garden and watch the bees do their work for us or make that funny anti right-wing satire sketch you've been contemplating in your head.

Ping!
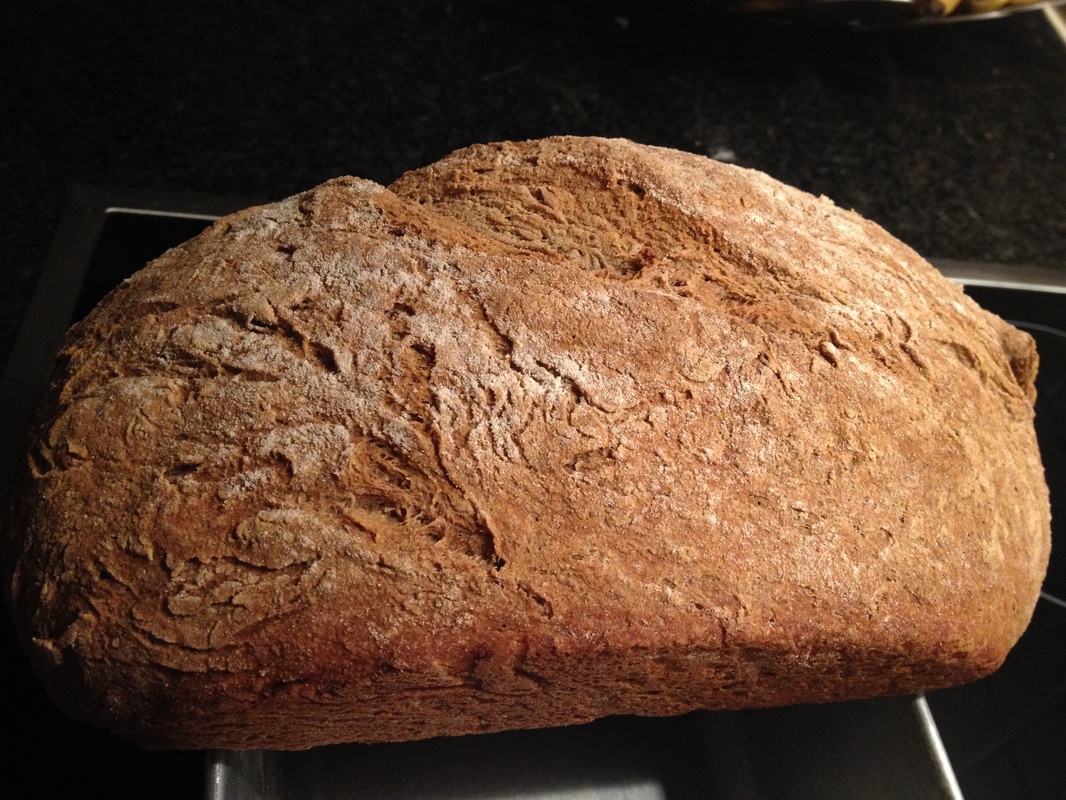
When the timer hits 60 minutes it is time to enjoy your hard labor. Remove the tin from the oven and get the bread out of the tin so that the crust can become evenly crunchy.
Let it cool for a while, (or don't) and enjoy it right away!
 RSS Feed