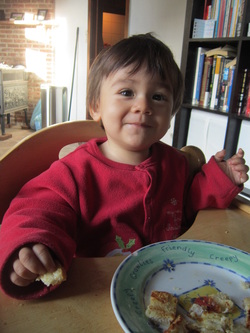
As you may or not know, I've commited myself to being vegan for a month. That's nothing, right? 
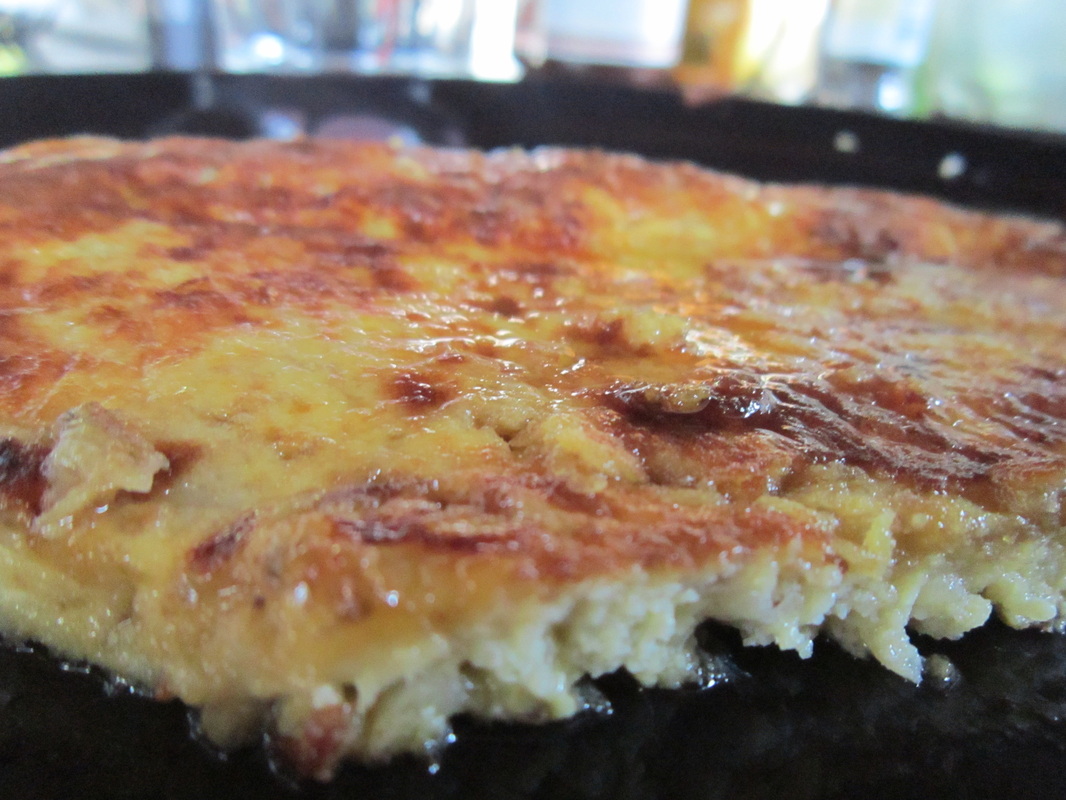
Try being a gluten-free, soy-free vegan! Now that is hard. At home in my controlled environment everything is fine, but once I have to eat outside there's a minefield out there of things I cannot eat.
But my personal goal has been achieved already : broadening my horizons (I was stuck with the same recipes over and over again) and seeing how this inflicts my personal health. To be honest, I don't really feel a difference. That doesn't mean there isn't one, good chance my cholesterol levels are way down now.
There's also another reason to go vegan, and that for me is the most important one.
To make food for the food that we eat, ancient forest has to be cut down to grow soy or corn. That by itself is an atrocity, but it doesn't stop there. Those crops that are grown are GM crops, genetically modified to withstand the spraying of pesticides so that it kills just about everything except the plant itself.
This is simply cannot continue to happen, and you deceide with your wallet what we do with our planet. So next time if you are in the supermarket and you see this shiny peace of pink meat, imagine the suffering that was needed to put that there for your comfort. Just be aware of that fact, and let it play in your head. Soon enough your heart will catch up with you.
Love,
David.
PS : I'm going to update or replace the current recipes as they have been perfected just a little better :)
Well, those words sound really good together don't they ? Gluten Free Granola, repeat 'em a couple of times and feel the water softly dripping into your mouth. This recipe is also sugar free, but contains a truckload of fruit sugars and the natural sugars in the gluten free grains. These will keep you going for a long time without the heavy feeling in the gut. When I'm off for a heavy days work - working outside, heavy labor - this is my bowl of heavenly goodness that gets me through the morning. No more feeling nausea after eating those sugary cornflakes for me!
Ta-daaa.
What do we need? An oven to bake and a baking tray, a container to store the cereal. A little patience and for the love of Jebus, don't give up if yo
Preparation time : 30 to 45 minutes
Ingredients :
For the granola
* 1 cup Millet Flakes * 1 cup Amaranth Flakes * 1 cup Buckwheat Flakes * 1 cup Quinoa Flakes (optional if your oven is big enough) * 1/4 cup Fresh Apple juice (I use demeter organic apple/pear juice, oh my the goodness) * 2 tablespoons maple syrup * 1 tablespoon ground cinnamon or more to taste * 1 tablespoon vanilla powder * 1 teaspoon ground nutmeg * a pinch of sea salt * a pinch of (cayenne) pepper * a little bit of coconut oil
Ok, I guess you got the picture for the dried fruit ... Go nuts (hehe) and make a combination that you prefer. Maybe even with some raw chocolate and hazelnuts ? Or go tropical with dried mango and aronia berries. Whatever floats your boat, personally I can never miss the good raisins, dried mulberries and cashews! If you are an expert in nutrients of food, make a nice compilation of required vitamins and minerals and give me a holla :)
Start by chopping your dried fruit or nuts if necessary and place em all in a bowl, mix em together. This should be enough to prickle your nose and heighten your senses. Allow yourself to have a few bites.
Preheat your oven to 180 ° C and rub in some baking paper with coconut oil.
Now you'll be surprised as to how simply this actually is, and by doing it more and more you'll become faster and better at it.
Take a large bowl and pour all the dry ingredients together, mix 'em good with a large spoon. Put in the maple syrup and a little bit of the apple juice and stir. Again, in this recipe it's all about the consistency. So you should have a consistency that is not too dry and not too wet ! Yes, I can hear you think "Sure Mr. SmartyPants, thanks for that useful information you have given me, now I certainly know how it's done. *insert sarcastic smiley* " Better be it a little too dry than too wet in my experience, also you can make it more wet but it can't dry more. The mix of grains should stick together a little bit, smell of deliciousness and is now ready to put on the baking tray. Spread evenly on your baking paper, chop here and there with a spoon so that it's not completely smoothened out.
Put your timer on 45 minutes (most likely, it will require less time but I have a very little oven) Now every 10 or 15 minutes take out the tray and reverse the granola with a spatula so that all sides are nice and evenly baked. Do this until the granola looks crispy or starts to brown too much. You don't want it baked too hard!
it should look like this
Remove from the oven and let it cool down. Every few minutes stir and reverse the granola so that all pieces can become evenly crispy. Yes, cooking is also kinda science :)
When it's cooled down you can mix your unique blend of dried fruits, nuts and seeds and store it in a container. This tastes absolutely delicious with homemade hemp or almond milk. Hopefully you'll like it as much as I do, and benefit from it the same way.
This is one of the hardest things in a gluten free diet to replace. Especially in a country like where I live. Bread is everywhere, and when I say everywhere you can take that literally. There are as much vending machines for bread as there are for sodas or candy. It's a comfort food, it's easy and filling. If you follow my simple steps, where years of trial and error have made me both miserable and happy, you'll be eating 'the real thing' soon as well. Have you also bought shares of GF bread, pre packaged or pre baked that tasted like feet, was hard like a rock or maybe crumbled like a cake just by looking at it? I have for sure, and this has become my daily routine that fills the house with a wonderful smell and leaves us the day after with an easy-to-digest bread that won't bloat your tummy. Oh and it's super delicious ofcourse! You can try varieties of this recipe as well, most important thing is to keep the same ratio of starch and flours & the consistency of the dough.
- 1 tablespoon of olive oil or coconut oil - 500 ml of fresh water All the ingredients I've used are organic, of course.
Let's roll!
First thing you need to do is soak the Fiber Husk or grounded Psyllium seeds. They form the consistency of the bread, thicken it and allow for a smooth transit through your body ;) Put the tablespoon of fiber husk in a glass of water (about 200 ml) and stir. Let it soak for 10 minutes while you make the rest of the dough.
Grab a slice of baking paper or your favorite baking can and grease it up with some coconut oil. (I prefer baking paper, it sticks less!) In a large bowl, mix all the dry ingredients together. Yes, it's kinda grey. Make a hole and put in the olive oil and soaked psyllium. That should look like a very goo-like substance, almost gelatinous like. Finally mix the rest of the water with the dough - and here's the fun part - just stir it very good with a spoon. Yay! No mixers involved, or heavy dough knitting ... It's the gluten in bread that needs to be knitted and since we don't have any, just a proper mix of the ingredients is enough! The dough should be a little more wet than regular bread dough, somewhere between pizza dough and pancake mix. This is an exercise in experience. I have perfected this and to be honest, don't need scales anymore. Every dish I ever make is 'by guess', or in other words looking at the consistency of the dough/recipe which is for me, a much more efficient way of baking! Now an important step : let it rise! Cover your tin with a wet towel and let it rest at a warm place (+20° Celcius) for at least 2 hours or more! When it's risen put it in your preheated oven (hot air : 225° C) for 1 hour exactly.
This is a good time to watch a documentary, or write a song, work in the garden and watch the bees do their work for us or make that funny anti right-wing satire sketch you've been contemplating in your head.
Ping! When the timer hits 60 minutes it is time to enjoy your hard labor. Remove the tin from the oven and get the bread out of the tin so that the crust can become evenly crunchy.
Let it cool for a while, (or don't) and enjoy it right away!
Ok guys, get ready for the real deal. I've been perfecting this recipe for a long time now and think things are covered right now. There's always room for improvement so if you got tips, let me know! My critical judges consisting of my wife and son eat these up faster than you can say 'gluten and diary free banana pancakes". So be sure to make enough, cause when they are cold they're still delicious and great food for pre-work outs , skateboarding or gardening chores.
this is actually a variation on the recipe, when I was still experimenting.
The problem I had with regular pancakes was that I would always feel physically nauseous after eating them. So I wasn't too stoked to experiment with these because of the mixed feelings I had about this food. But now it's one of my favorite things to make and eat, they are sooo good!
happy guy loving the happy food.
This is what you'll need.
1/4 cup buckwheat flour 1/4 cup chestnut flour 1/10 cup coconut flour 1/2 rice flour 3 large bananas or 4 small ones 2 eggs 1 cup rice/hemp/nut milk 1 cup water 1 teaspoon vanilla powder 1 tablespoon coconut oil
Start off with a big bowl, peel the bananas and break the eggs. Put them together and mix them together until you have a smooth consistency without chunks. Now add the flours, then the rice/hemp/almond milk and water. Finally add the vanilla powder and put your mixer to work. The consistency you're looking for is a creamy blend, not too solid, not too liquid. Somewhere in between. Preheat your pan at medium high temperature. Now melt your coconut oil, when it's completely melted and warmed pour your mixture in the pan. Make sure it's not too big, 6 or 7 cm diameter maximum. Flip over when the top is showing popped airbubbles and looks like the moon.
Keep them between hot plates to keep warm. Stack a bunch of them on top of each other and serve with cinnamon and maple syrup. If you'll like 'em as much as I do, they'll be gone so fast you'll inmediately want to make a fresh batch! Smakelijk!
So it's finally here, after many requests for recipes and advice, I've put up this blog to help you out on a journey for unknown taste and flavor, experiencing new and healthy ways to eat and feel great by doing so!
Time shortage led me to this option and the lay out will be changed when I have more time but I'll try to hook you up with some of my favorite recipes and tips. When I first started this 'elimination diet', the world suddenly looked like a very hostile place where everywhere there would be things I couldn't eat or do. Nowadays I've learned to cope with it and prepare for those hard moments. Sure there are times when the scent of a freshly baked bread will seduce you and desperation will be near. I'll try to give you some tips to learn how to deal with that.
My name is David, father of two beautiful kids. I'm very passionate about our planet and everything that lives on it. Here you can find recipes, advice & tips about coping with food allergies and the ordeal that sometimes goes with it.